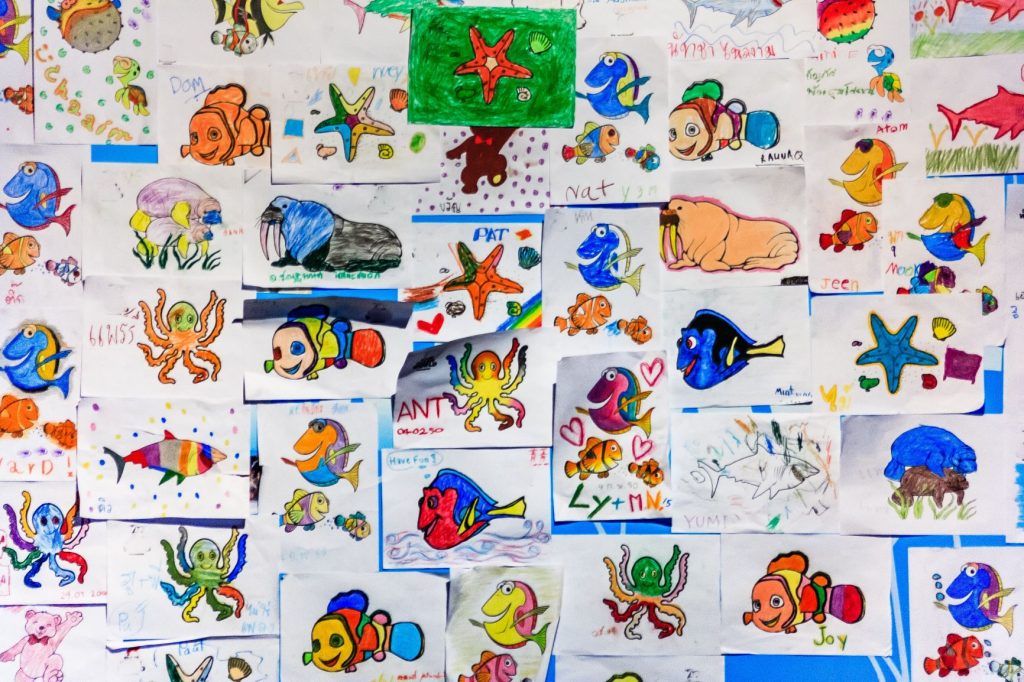
If you’re a parent of young children then you probably have a pile of beautiful art pieces your little munchkins bring home from school. I love seeing their little hands and how they see the world but I’m not a huge fan of clutter. While my kiddos are a little past that phase, I thought I’d share what our process was when we had a new piece of art come through each day.
For us, when the art comes home its first stop was in a frame in the hallway. My mom found this great frame that we just slide images into as they arrived. It was a nice opportunity to have fresh art on the walls and the kids got such a kick out of seeing their pieces up there as they walked by. The pieces lived there until a new piece came in and then we rotated.
After the frame, the pieces went to a large rough tote in storage. The problem was, the rough totes filled up quickly. So, over time we worked on a process to cull it while not throwing too much out. I’d sort it by years, de duplicated and eventually just started keeping the major projects. Random coloring pages were often sacrificed in the name of space.
But it always hurt my heart to have to throw anything out because I hated losing that piece of their development (silly mom things) so I started photographing them before tossing them. It was a silly idea when I started but became something so special over time!
Photographing them was easy.
First, find a white surface. I would use a piece of foam core board or a white sheet depending on where I was. But having the white background allows you to focus on the picture and not the surroundings. I would often set it on the floor.
Second, find the light. Natural window light worked best as long as it wasn’t directly streaming. I’ve used my studio and ring lights in a pinch but if you plan better than I did and don’t do the sort at night then you’ll be fine.
Third, grab your camera. Phone cameras work just fine although I used my dSLR. In either case, position the art on the floor on the white surface next to the light and get directly over top of it. Zoom in to fill the frame as much as you can (I left a little border on each side ) and snap away! If the piece of art is particularly detailed or has interesting sections you can always zoom in and capture those too.
Now, you have two choices. You can leave those images on your phone or in your cloud galleries for ever or you can make them tangible (but clean) by making a book! After a year I would take all their art piece images and create a scrapbook using something like Shutterfly or Mixbook (my personal favorite). We’d make one book per year per kid although you can totally create one book a year for the family. And as the kids grow you can start combining years or just making smaller books.
If you manage to start this when they are tiny you’ll end up with a wonderful library of their artistic expressions. One of our favorite down time activities around here is going back through the art books and the family year books to see how much we’ve grown and changed. The kids love picking out their favorites or sharing memories around a particular piece.
So, kids art doesn’t have to be clutter or have a short shelf life. You can turn those art pieces in to lasting memories that can be enjoyed for years to come (and only have to keep one storage bin:) ) Enjoy!