I have memories as a little child sitting on the floor of my grams house going through album after album of family photos. She collected albums like they were going out of style and filled them to the brim with photos. We’d spend hours leafing through, laughing at the outfits, and learning about our family history.
So, it was no surprise that I grew up with a camera in my hand, and that I loved albums as much as she did. From my first 110 film camera to my dad’s old 35mm Minolta and finally, on to a variety of digital cameras I was always snapping away capturing the moments around us. Until the invention of digital all my images were printed and carefully placed into albums that covered my shelves, just like my gram.
Sadly, digital was just too easy to forget about. Over time the images started to accumulate on the hard drives. Periodically we’d create specialized albums for events or specific themes but by and large, the only way to see the pics was to sit in front of the computer and page through.
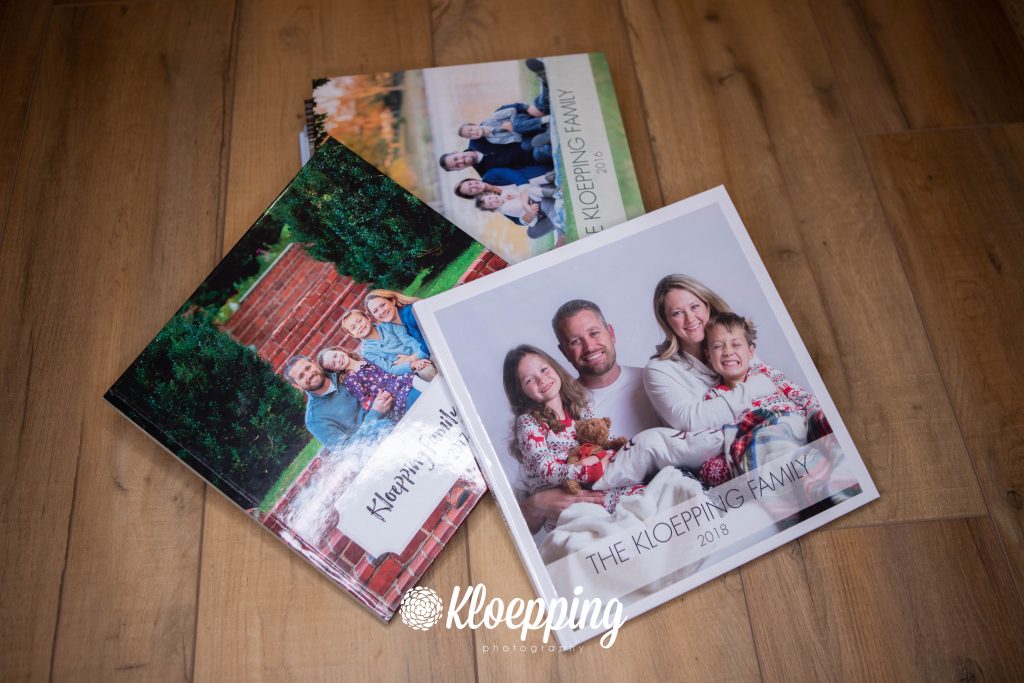
A few years back I got tired of them being locked away and secretly freaked out that we’d lose the drives or something catastrophic (this was before cloud storage) and decided to start making family year books. We’d used a few album providers in the past but since finding Mixbook we’ve not strayed.
Doing a family year book can be a tall task if you’re not prepared. The first few years were hard because we had zero organization of the images. So, the first step in doing a family year book is to organize your images. Those first few years were one big jumbled mess. It was a pain to go through all the images but we eventually got them into folders broken down by year. Then year folders broken down further down by date and labeled each folder with the activity or event ( mm.dd.yyyy Event Name is our pattern). Eventually hubby made me a script to offload my cards into neat folders (before it was a feature of all the cloud storage and software we have today). And today, as they get offloaded from the cards they get a date and name inside a larger year folder. We have folders going back to 1998/1999 (all those awesome 1MP images!)
Now, once you have them organized, go through each folder and create a best of the best folder – not every image needs to get uploaded to the software. I aim to pick 5 – 7 from each folder but have gone overboard sometimes and grabbed most of the folder.
Once you have them in a best of the best, upload them to the software of your choice. Again, we use Mixbook but there are other options including Shutterfly.com, blurb.com and snapfish.com.
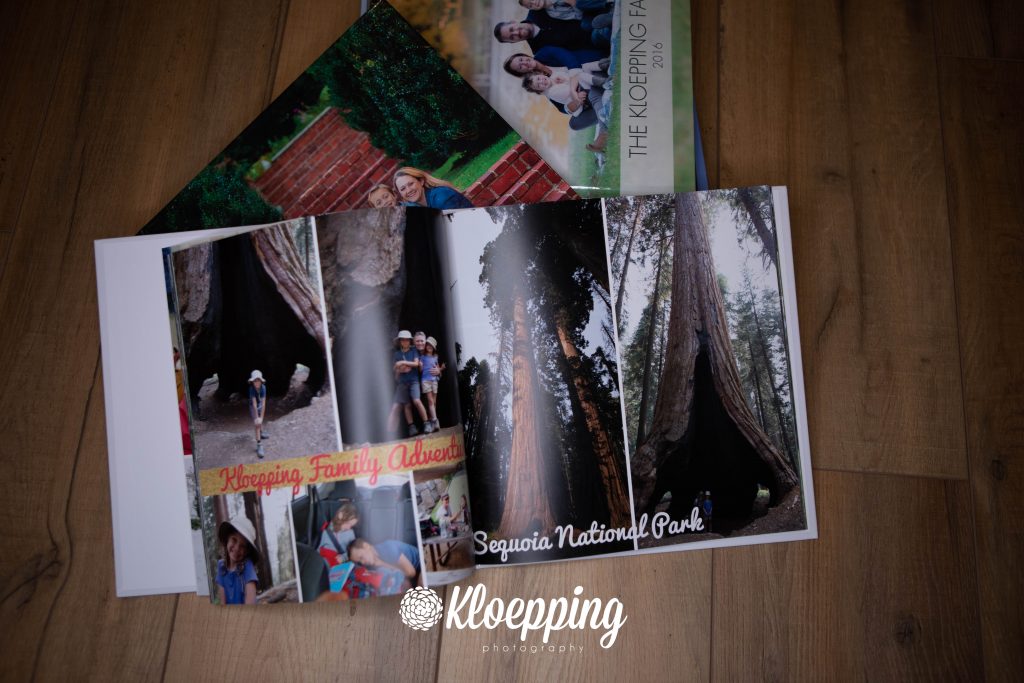
Now it’s time to play! Most of the software has an auto place option where it just scatters the image across the pages. I prefer to build my own pages grouped by theme or time. I don’t always follow chronological order but I do try to stay in order seasonally. The exceptions are birthdays and recitals that I tend to group by theme.
Mixbook offers almost 100 different layouts for pages ranging from 1 picture to 20 pictures (or more) on a page. Generally I place the images and then go back through and embellish after they’re all in. Mixbook offers scrapbook like embellishments and the ability to place text on our around the images. This year I started adding a text blurb on some pages to tell the story of what we were doing and including fun details about the trip or the event.
It’s always such a thrill to finish out a book and hit the order button. You know that in just a few weeks you’ll get to see the fruits of your labor and always remember the events of that year. My kids LOVE sitting down with the old books and reminiscing.
So what are you waiting for? Get to organizing and creating! Need help? Just give me a shout. I’m happy to help create an album for you!!
Also, have a million photos on your phone? Stay tuned to another Tutorial Tuesday where I talk about some of the newest services that will turn your Instagram feed and phone photos into adorable little memory books!